Installing an induction heating capacitor correctly is crucial for the efficient and safe operation of an induction heating system. As a trusted supplier of induction heating capacitors, I have witnessed firsthand the impact of proper installation on system performance. In this blog post, I will share some essential guidelines on how to install an induction heating capacitor correctly.
Understanding the Basics of Induction Heating Capacitors
Before diving into the installation process, it's important to have a basic understanding of induction heating capacitors. These capacitors are a key component in induction heating systems, where they are used to store and release electrical energy at high frequencies. They play a vital role in matching the impedance of the induction coil to the power supply, thereby optimizing the transfer of electrical energy to the workpiece.
Induction heating capacitors are typically designed to operate at high voltages and frequencies, and they come in various types and configurations to suit different applications. Some common types include ceramic capacitors, film capacitors, and mica capacitors, each with its own set of characteristics and performance advantages.
Pre - installation Preparation
Safety First
Safety should always be your top priority when working with electrical equipment. Before starting the installation, make sure to wear appropriate personal protective equipment (PPE), such as insulated gloves and safety glasses. Also, ensure that the power supply to the induction heating system is completely turned off and locked out to prevent accidental energization.
Inspect the Capacitor
Carefully inspect the induction heating capacitor for any signs of damage or defects. Check for cracks, dents, or other physical damage to the capacitor body. Also, verify that the capacitor's ratings (voltage, capacitance, and frequency) match the requirements of your induction heating system. If you notice any issues, contact your capacitor supplier immediately for assistance.
Gather the Necessary Tools and Materials
You will need a few basic tools and materials for the installation, including a torque wrench, screwdrivers, wire cutters, and electrical tape. Make sure you have the correct size and type of tools for the job. Additionally, prepare the mounting hardware, such as bolts and nuts, and any necessary wiring materials.
Mounting the Capacitor
Choose the Right Location
Select a suitable location for mounting the induction heating capacitor. The location should be well - ventilated to prevent overheating, as capacitors generate heat during operation. Avoid mounting the capacitor near sources of excessive heat, moisture, or vibration. It should also be easily accessible for maintenance and inspection.
Secure the Capacitor
Use the appropriate mounting hardware to secure the capacitor to its mounting surface. Make sure the capacitor is firmly attached and level. When tightening the bolts or nuts, use a torque wrench to ensure that they are tightened to the manufacturer's recommended torque specifications. Over - tightening can damage the capacitor, while under - tightening can cause it to loosen during operation.
Wiring the Capacitor
Follow the Wiring Diagram
Refer to the wiring diagram provided by the capacitor manufacturer or the induction heating system designer. The wiring diagram will show you how to connect the capacitor to the power supply, induction coil, and other components in the system. Make sure to follow the diagram carefully to ensure correct wiring.
Use the Right Wiring Materials
Select high - quality wiring materials that are rated for the voltage and current levels of your induction heating system. The wires should be of sufficient gauge to handle the electrical load without overheating. Use insulated wires to prevent electrical shorts and ensure safety.
Make Secure Connections
Strip the insulation from the ends of the wires and make clean, tight connections to the capacitor terminals. You can use crimp connectors, soldering, or other appropriate methods to make the connections. After making the connections, cover them with electrical tape or heat - shrink tubing to provide additional insulation and protection.
Testing the Installation
Visual Inspection
Once the capacitor is installed and wired, perform a visual inspection of the entire installation. Check for any loose connections, exposed wires, or other potential issues. Make sure all the wiring is neatly arranged and secured.
Electrical Testing
Before energizing the induction heating system, perform electrical tests to ensure that the capacitor is functioning properly. You can use a multimeter to measure the capacitance and check for any short circuits or open circuits. If the test results are not within the expected range, double - check your wiring and connections, or contact a qualified technician for assistance.
System Commissioning
After completing the electrical tests, gradually energize the induction heating system and monitor its performance. Check for any abnormal noises, vibrations, or overheating. Measure the voltage, current, and power consumption of the system to ensure that it is operating within the design specifications. If you encounter any problems during the commissioning process, troubleshoot the issue or seek help from your capacitor supplier or a professional technician.

Complementary Components for Induction Heating Systems
In addition to induction heating capacitors, our company also offers a range of complementary components for induction heating systems. For example, we provide IGBT Medium Frequency Power Supply, which is an essential part of many induction heating setups. It offers high efficiency and reliable performance.
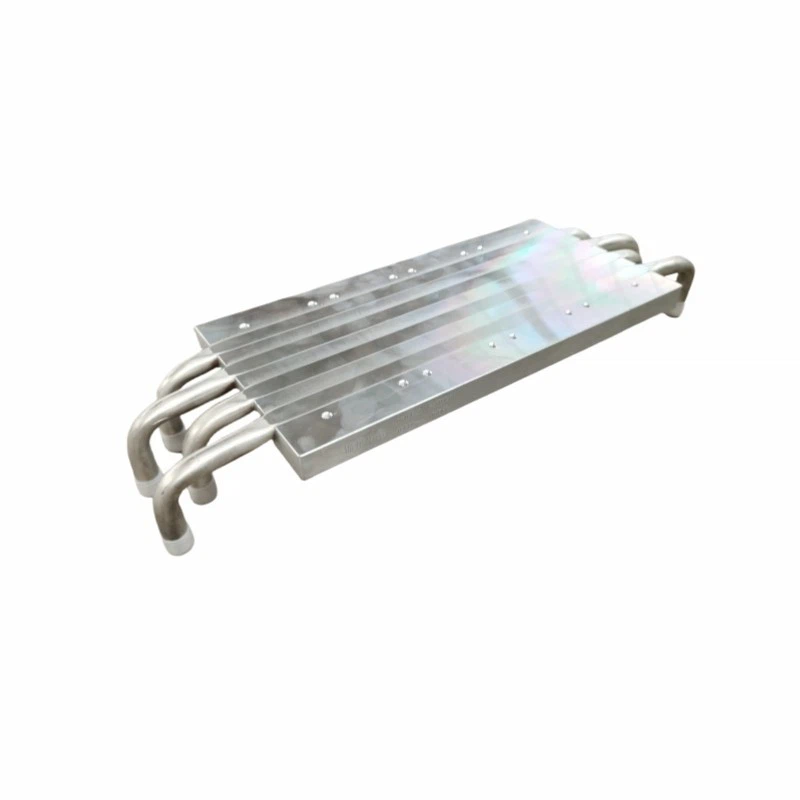
We also have Water Cooling Plate for IGBT Modules. These cooling plates are crucial for maintaining the optimal temperature of IGBT modules, ensuring their long - term stability and performance. And of course, our IGBT Modules are designed to work seamlessly with induction heating capacitors and other system components.
Conclusion
Installing an induction heating capacitor correctly is a multi - step process that requires careful planning, attention to detail, and adherence to safety guidelines. By following the steps outlined in this blog post, you can ensure that your induction heating capacitor is installed correctly and will operate efficiently and safely.
If you are in the market for high - quality induction heating capacitors or any of the complementary components mentioned above, we are here to help. Our team of experts can provide you with the technical support and advice you need to choose the right products for your application. Whether you are a small - scale workshop or a large industrial manufacturer, we have the solutions to meet your needs. Contact us today to start a discussion about your induction heating requirements and explore how our products can enhance your operations.
References
- Manufacturer's installation manuals for induction heating capacitors
- Industry standards and guidelines for electrical installations in induction heating systems